


How to Use a Golf Divot Tool Properly
Using a golf divot tool seems simple — but most golfers are never actually shown the right way to use one.
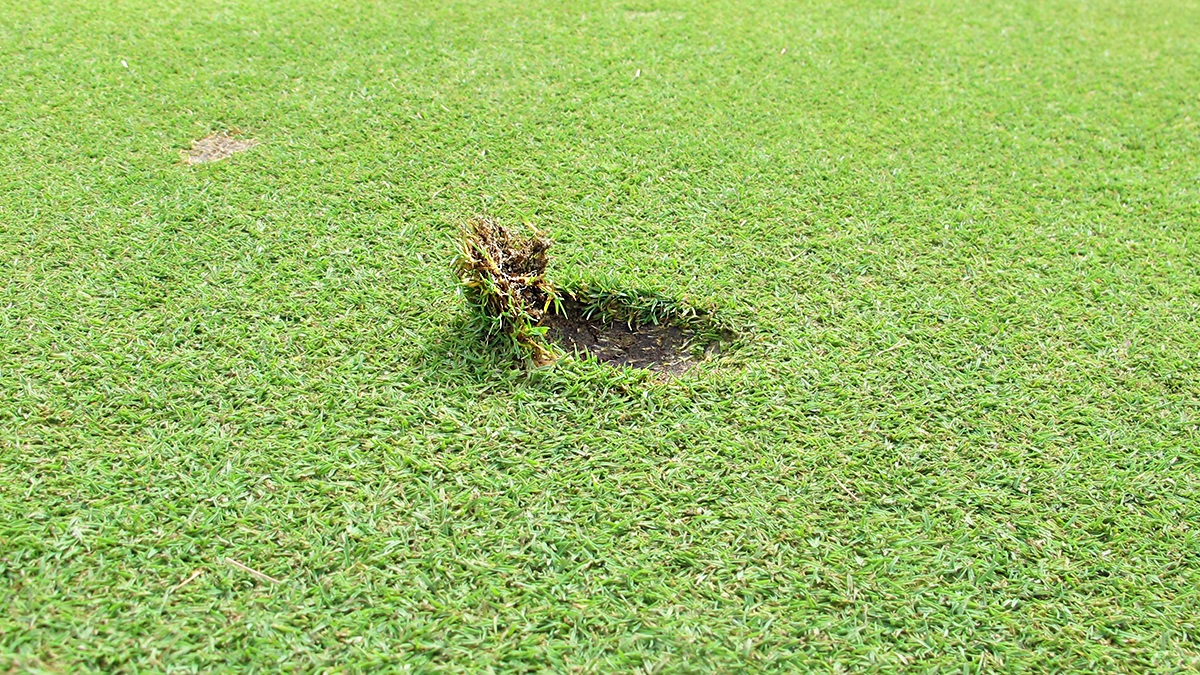
The result? Ball marks that look fixed at first, but leave damaged roots and scars that take weeks to heal.
In this guide, we’ll walk through how to use a golf divot tool properly, the most common mistakes to avoid, and why technique matters just as much as the tool itself.
Why Proper Divot Tool Use Matters
Ball mark repair isn’t about making the green look smooth for the next putt. It’s about helping the grass recover as quickly as possible.
When a divot tool is used correctly:
- Roots stay intact
- Grass heals faster
- Greens stay smoother and healthier
When it’s used incorrectly, even with good intentions, the damage can last far longer.
If you haven’t already, it helps to understand how to fix a ball mark the right way before focusing on the tool itself.
The Right Way to Use a Golf Divot Tool
The key principle is simple:
Push the grass inward — don’t lift it upward.
Here’s the correct technique, step by step.
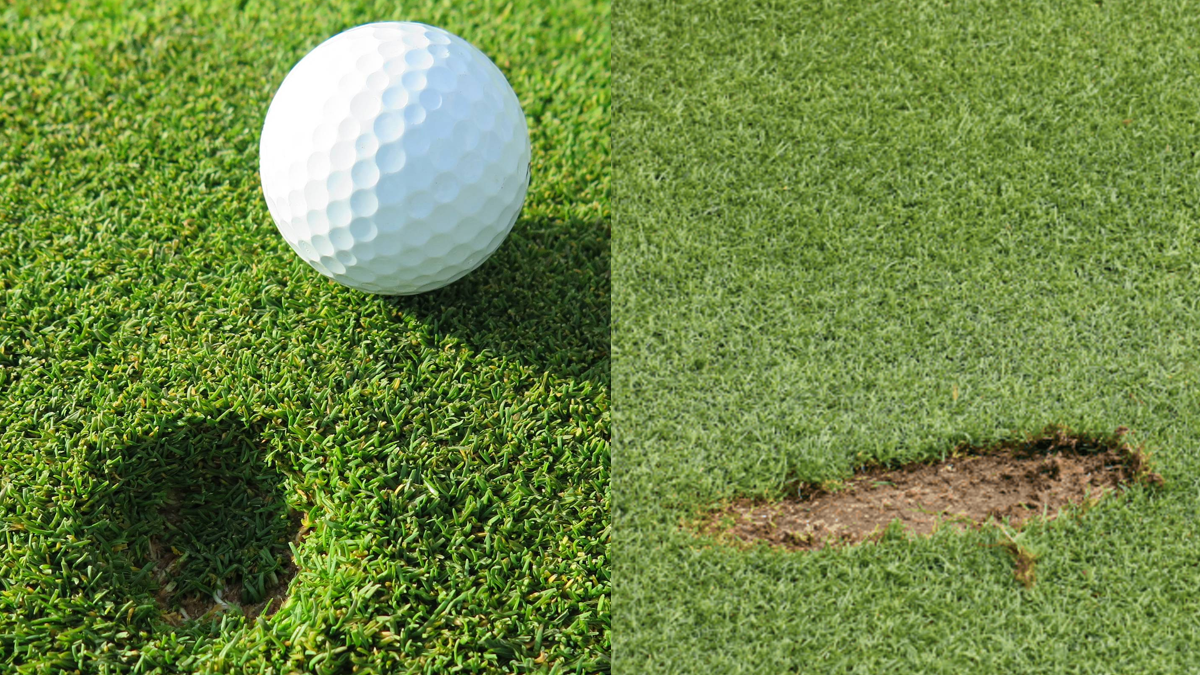
Step 1: Insert the Tool at the Edge of the Ball Mark
Place the prongs of your divot tool just outside the edge of the ball mark, not in the center.
This gives you leverage without tearing roots.
Step 2: Push the Turf Toward the Center
Gently push the grass inward, toward the middle of the mark.
Work your way around the mark from multiple sides, nudging the turf back into place rather than prying it up.
Step 3: Lightly Tamp the Surface Flat
Once the grass is back in position, use the sole of your putter to lightly tap the area flat.
This helps smooth the surface without compressing the roots.
Step 4: Move On — Don’t Overwork It
Once the surface is level, you’re done.
Overworking the area or repeatedly stabbing the mark can do more harm than good.
The Most Common Divot Tool Mistakes
Even experienced golfers fall into these habits:
- Lifting the center of the mark upward
- Twisting the tool aggressively
- Using too much force
- Stabbing straight down into the green
These mistakes tear roots and slow recovery, even if the surface looks fine initially.
Understanding why lifting ball marks damages greens can help break these habits for good.

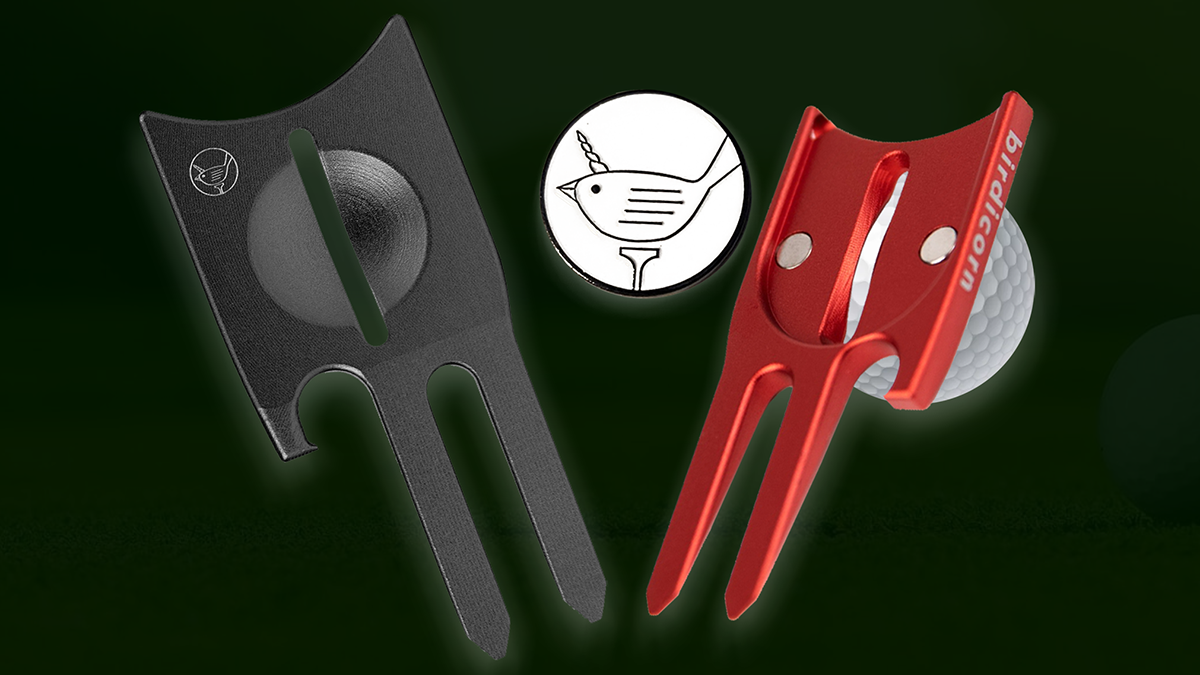
Does the Type of Divot Tool Affect Technique?
Yes — the design of the tool can either help or hurt.
A good divot tool should:
- Make it easy to push turf inward
- Offer leverage without digging too deep
- Feel comfortable enough to carry every round
Tools that are very narrow, sharp, or have long prongs often encourage lifting instead of pushing. They can also be uncomfortable to carry, which means they don’t get used consistently.
Choosing from the best golf divot tools makes proper technique easier and more natural.
How Many Ball Marks Should You Fix?
At minimum, you should always fix your own ball mark.
A great habit is to repair:
- Your ball mark
- One extra nearby
It takes seconds and makes a real difference over the course of a round.
Final Thoughts
Knowing how to use a golf divot tool properly is one of the simplest ways to be a better golfer — and a better playing partner.
Use the push-in method, avoid lifting, and carry a tool that supports proper repair and everyday comfort. Greens heal faster, putts roll truer, and everyone benefits.
Leave a comment
This site is protected by hCaptcha and the hCaptcha Privacy Policy and Terms of Service apply.